I’d be a terrible salesman. Promoting things; compelling a call to action; these just aren’t part of my default behaviors.
But: short attention spans? That, I understand. So I’ll but the result right up front, this time.


Trying to implement abalone or mother of pearl in the Dial of Destiny prop builds has bothered me since I started on it. I never found a great 3D printing solution for a true pearlescent effect though I found a pretty good workaround for the white rings.

I set up a two color print with a black backing and the top layers with a silk white. The glyphs in the rings are cutouts, that reveal the black beneath. Silk filaments have a directional polarization to their reflection that becomes evident if you print the same part in two different orientations.
It occurred to me that part of what gives pearl its beauty is that it also polarizes and reflects at different angles based on the organic matrix of the intricate growth patterns of the material. People are like Bass, we like shiny things. It roots back to evolutionary selection for pattern matching cognitive behaviors developed on the Serengeti. (Probably)
As 3d printers put down layers, you can control the patterns of movement by setting various travel and fill patterns. The printers often use faster (but less visually consistent) patterns for interior structures and then switch to monotonic patterns for top layers in order to try to provide a uniform finish. If you think of a 3D print as an Oreo, the bottom and top layers have one pattern and the filling can be something else entirely. Yummy. I’m not sure what the milk is in this metaphor…
Anyway.. so, I had this idea. What if I reduce top layers and let some of that patterning through; especially considering the visual properties of silk white filaments. To get this effect, I could reduce the top-layer counts of a print or even just pause and top the print early when it looked “right.” It worked out pretty well and gave the Dial’s white features a pearlescent effect. I’d typically spend a day making nothing but the white parts for future builds using this trick and my build plates have the wear grooves to show for it.
One limitation is that the effect is diminished in larger surface areas. I tried to account for it with various holographic skateboard paints but lets be real. Actual Pearl always beat plastic.
Glyph Disc
Last year I started including a mother of pearl glyph disc option with the Dial of Destinies that I made for people. The process was timing consuming, the material is costly and can be a challenge to work with. I started by ordering 240mm x 140mm Mother of Pearl Veneer Sheets. You can get them from Amazon, from Etsy, from specialty suppliers and prices vary from $75/sheet on the top end to about $8/sheet when buying in bulk from a sketchy part of the internet. I applied the veneer sheet to a backing material with adhesives. I cut the pearl circle by hand with a hobby knife. I went through alot of hobby knives.
Pro-tip that I learned while cutting floor tile. A piece of masking tape (on both sides) of the area you plan to cut, then cutting through the masking tape -and- material at the same time can help sharpen the cut lines and keep it from crumbling. It works for marble and tile floors and it happens to work for mother of pearl as well.
Marking the glyphs onto the pearl is a challenge.
I tried various approaches at using hand-made stencils but most were underwhelming. Anything from 3d printed stencils to vinyl cut stencils. The vinyl-cut stencils mostly worked but the Cricut is my wife’s toy. She has a job -and- keeps the kids alive when I’m mad science’ing in the garage; doesn’t need me adding to her Cricut cutter backlog.
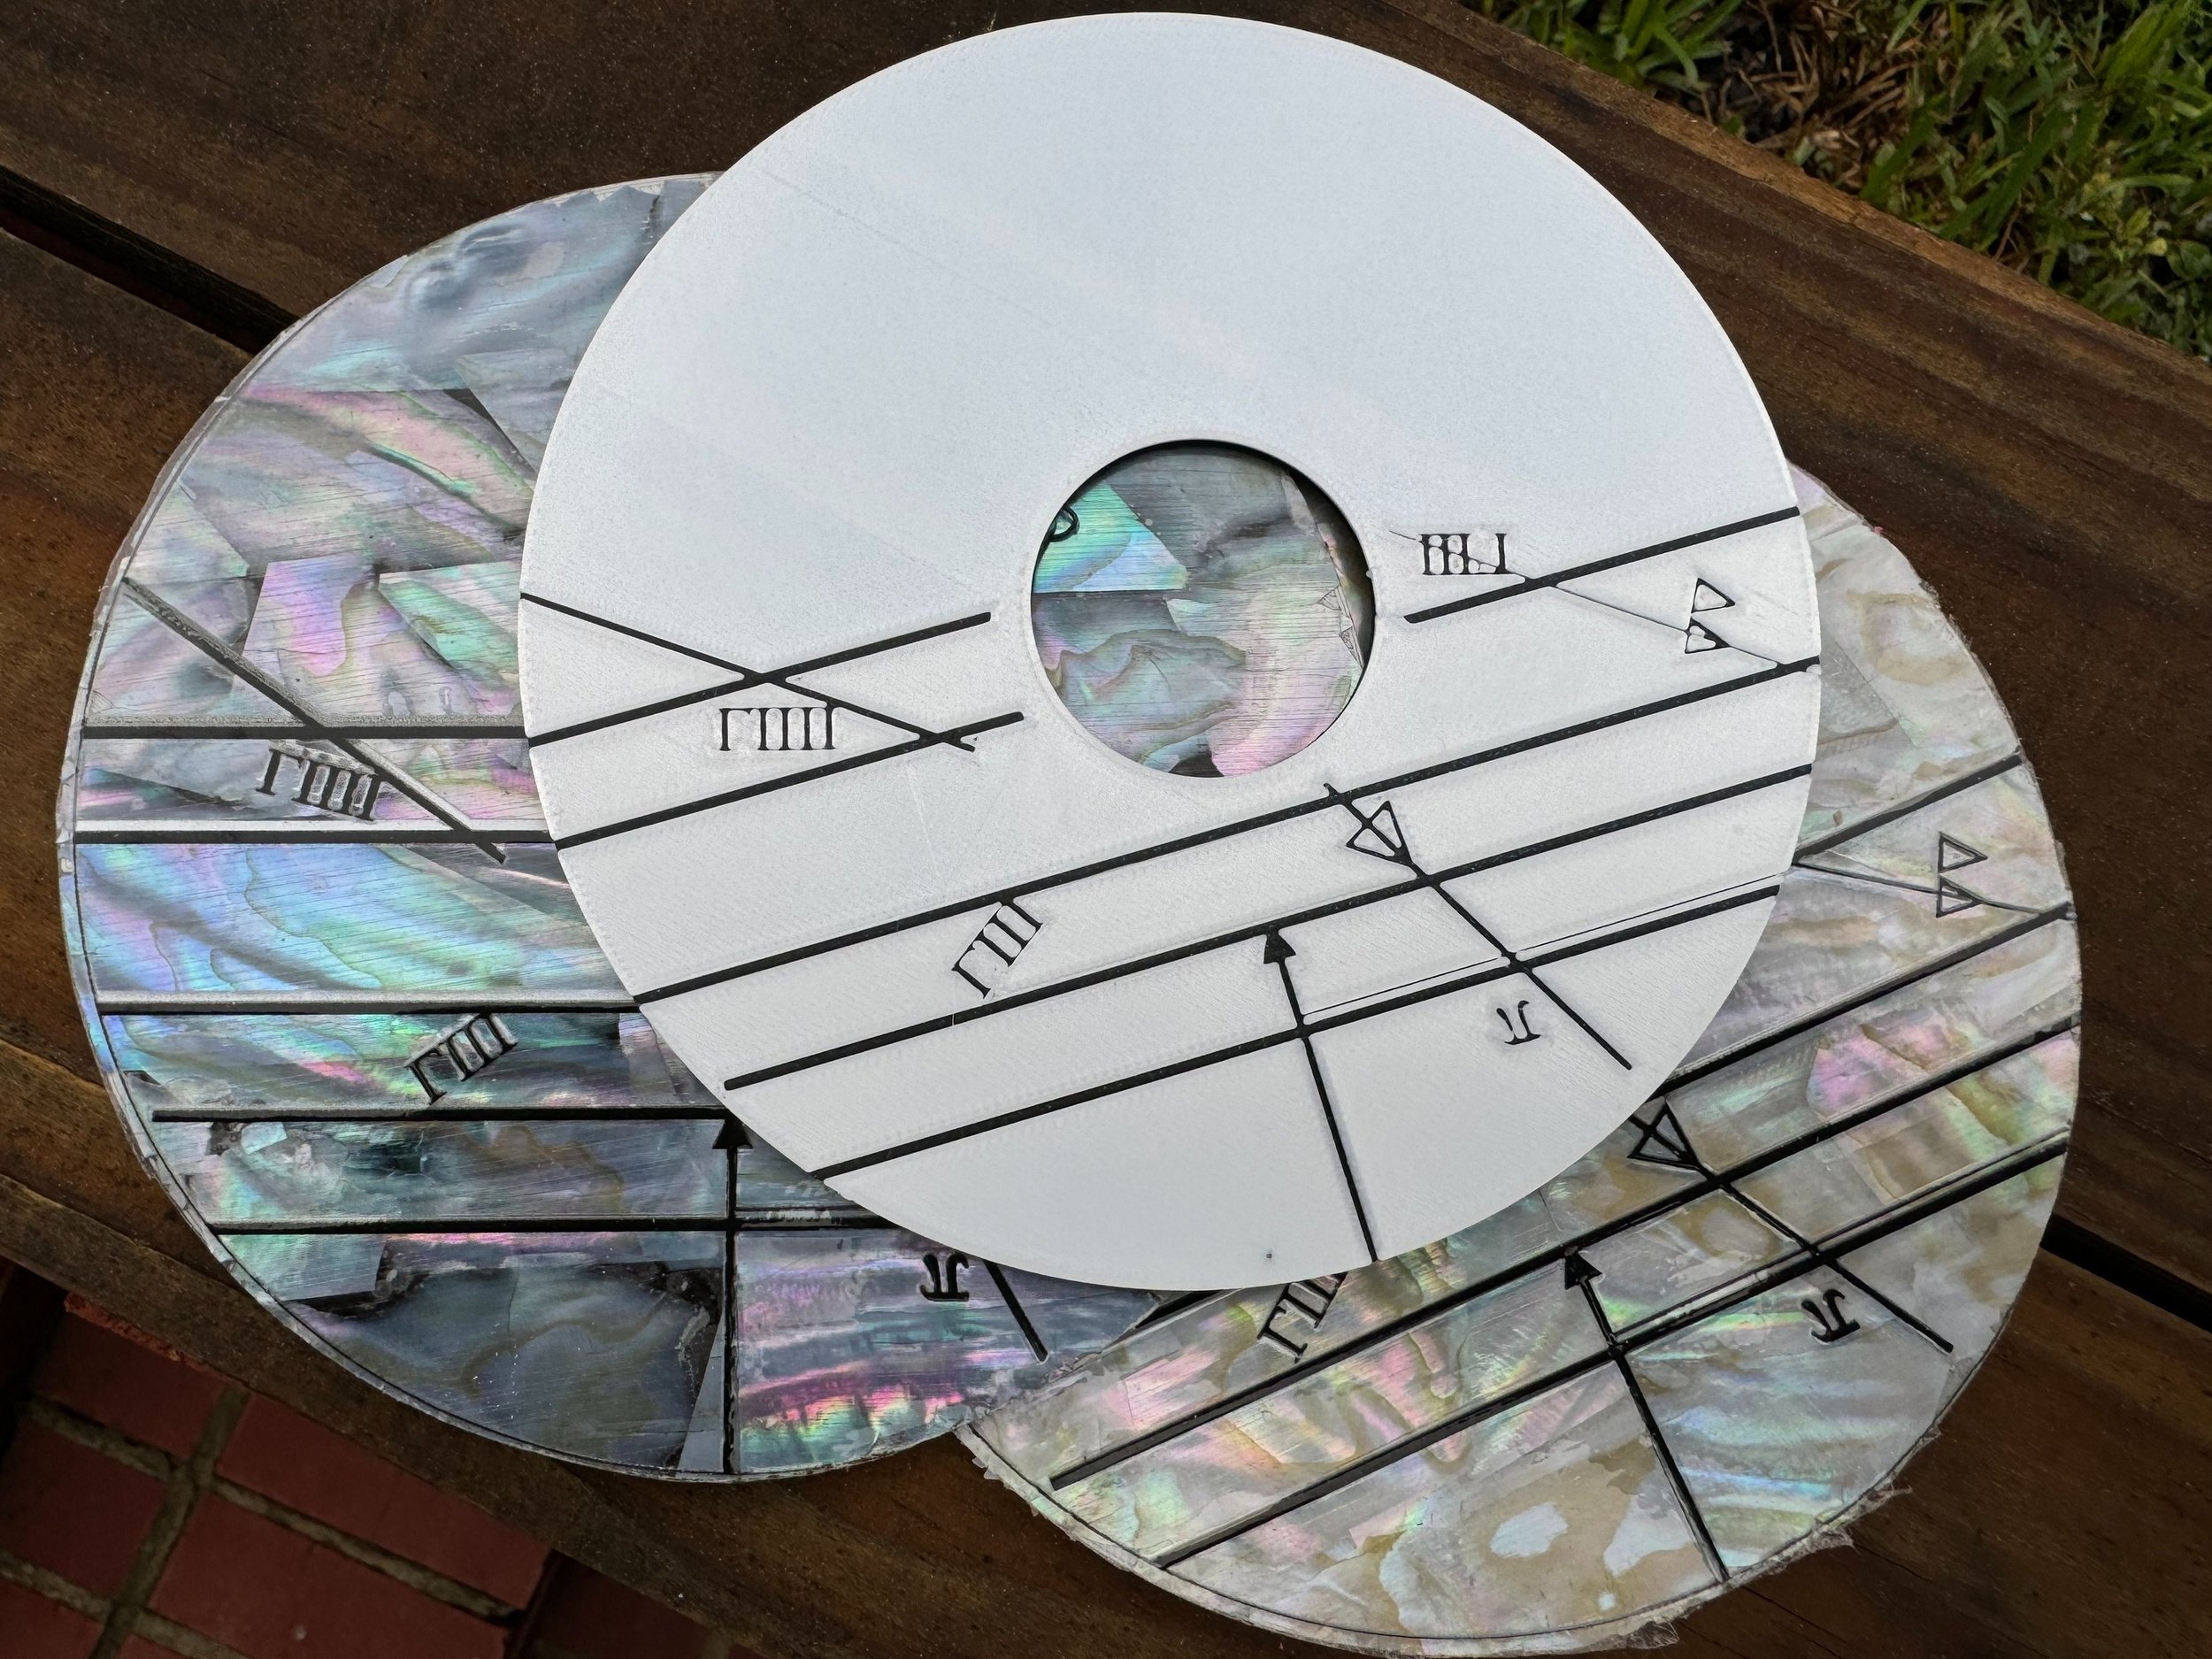
Top, unpainted plastic print. Middle, Dark pearl. Bottom, Light pearl.
I had Dry Transfer Decals made from the glyph design. At bulk, I ended up with two giant rolls for a few hundred dollars from different brands.
The first vendor, Ninja Transfers misprinted the first order, got the middle order correct. They sent the entirely wrong product type on the third order, which was a reprint from a QR code of the good roll. The print and cut quality is really good. From the customer perspective it feels like a fully automated print on demand business with bugs in the print provisioning pipeline. Their customer service was so unhelpful that they may already have been replaced by chatGPT agents. ¯_(ツ)_/¯
I had another batch made from a local sign company.
The challenge with dry transfers was that their transfer tape was too sticky. Removing the transfer tape pulls and cracks the upper nacre layer of the shell sheet.
Heat transfers work but have to be applied before the shell is applied to the backer. The backer becomes warped from the 380F heat press.
I can get 1 1/2 glyph disc per 240mm x 140mm sheet of MOP. I seamed together each scrap at the up-arrow and used these in discounted (fused Dials) aimed at Cosplay. The single piece, went to the more expensive complete Dials that I sold. This is why there was a price difference between the two.
Sharks with Laser Beams, Sans: Sharks
I think that there are some clear signs in the film production prop that at least some of the pearl markings were done through a laser-engraving or laser-etching process. Those parts were likely laser cut, especially the outer glyph rings.
So, how can we mark directly on the pearl?


One problem: Laser etching a shell nacre, doesn’t turn it black, it oxidizes white.
Another problem: The detail in the outer rings is such that a punch through cut isn’t really feasible, especially with such brittle material.
Ideas

Idea:
Use Liquid Masking on the face of the pearl. Stencil the liquid mask with the laser. Stencil-Paint the glyphs with an airbrush.
Result:
As you might predict.. Burning rubber is a big downside. The liquid mask doesn’t adhere well enough for a smooth application, requires several coats for a smooth finish. This would work but the drawbacks outweigh the benefits.
Idea: Mark the pearl with sharpie to increase the heat absorption and to see how the heat interacted with the underlying material.
Result: The laser just cleans off the sharpie. There wasn’t a noticeable improvement in the etching depth.


Idea: Rub graphite into the laser etchings. Seal the graphite in with a top coat.
Result: A bit messy. The graphite has great color. It did have a staining effect on the surrounding pearl that would require extensive, meticulous clean up.
Idea: Use a laser marking spray. They make laser marking sprays that are water soluble but react to the heat of the laser in such a way to bond to smooth surfaces (like glass).
Result: The laser intensity settings that react most favorably to the marking spray in terms of color-change, did not trigger an adequate bond to raw shell materials.
Powder Coating
From the pinball and arcade hobby I got pretty familiar with the concept of powder coating. After a usually torturous surface prep process, electro-static charged powdered pigments are applied to a (usually metal) surface and then baked to achieve a semi-permanent bond. This is also reminiscent to how a laser printer functions. Toner isn’t just ink, there is a static charge relationship between the toner and the paper, then the fuser bakes the toner into the paper.
Can I use powder coat or toner to mark the pearl with the laser? Absolutely. Any drawbacks?
It is so… very… catastrophically messy. Especially when you are unable to disable the ventilation fan on the laser engraver.
Direct Printing
At production scale, Screen Printing or UV Printing would be a solid choice for marking these. The brittle nature of the materials would likely create potential for a high defect rate. The large format resin printer and laser engraver already have me in a $7500 hobby-hole. If I were to add a $25k UV printer to the tally, I’m pretty sure to get a visit from a divorce attorney..
So… I’ll find another way with the tools that I have..
Laser Ablation

In the process of engraving a God of War coin for my son, the idea came to me. A common step is to let the laser do low power cleaning pass on the coin to remove any surface contaminations like oils or burs from previous engraving passes.
The Process:
Cover the pearl sheet in a desired dye, paint or stain
Create a negative of the glyph design
Do many (10-20) cutting passes first
Follow by 2-4 lower power engraving passes using the negative vector of the designs
The Pros: Extremely crisp results. Reasonably simple execution with single color prints.
The Cons: Burning paint is the stuff of burn-pits and cancer. Make sure you follow a good ventilation-filter-capture protocol. Do not breath this shit in.

There were several a-ha! moments working out how to make the Dial of Destiny props. The kind of thing where you start to see reinforcements that you are walking in the right footsteps. (In Latin, Jehovah starts with an I). One such moment was the repeated geometric harmony with 60 degrees on various design aspects of the model. Another, was the the notion that the largest pearl pieces just barely manage to fit on a 240mm x 140mm sheet of pearl inlay.

There are certain lettering stutters to the film props' glyphs that work to enforce the weathering realism and create an appropriate sense of a completely handmade object.
I achieved something similar in early testing by defocusing the laser or intentionally misaligning the pearl for extra cleaning passes. The result is that some letters get truncated while others are left alone.
Putting it All Together

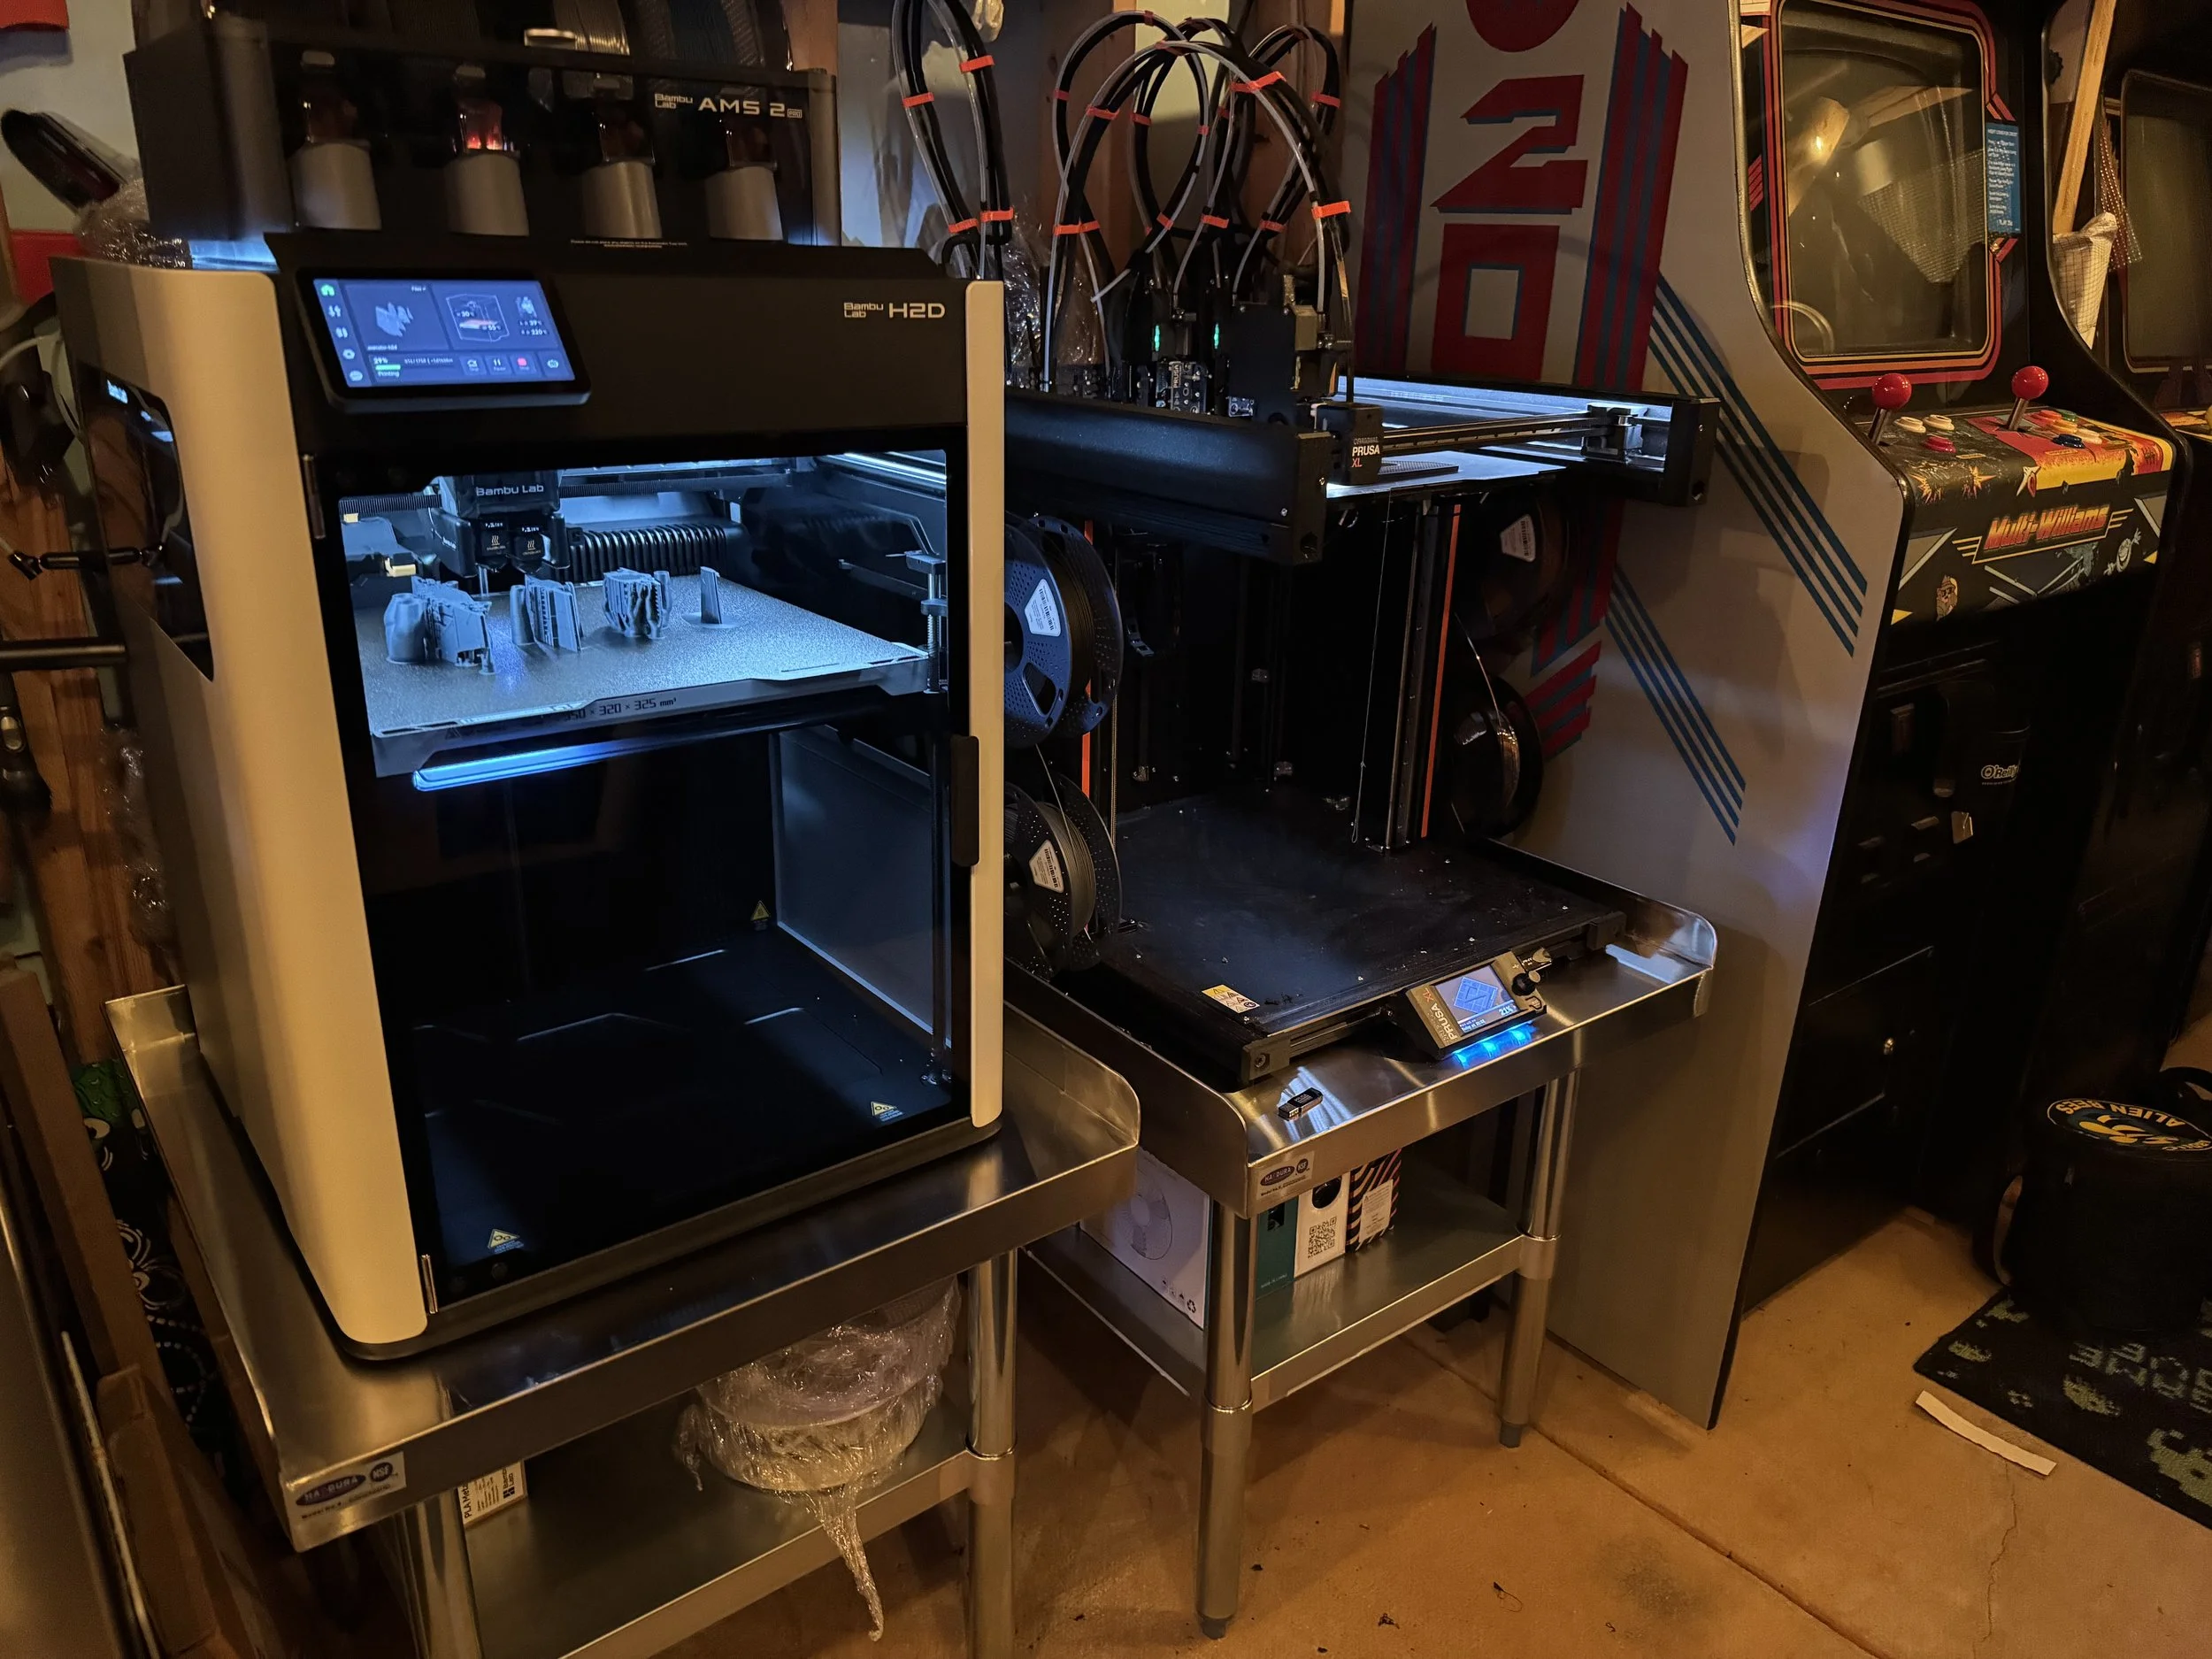
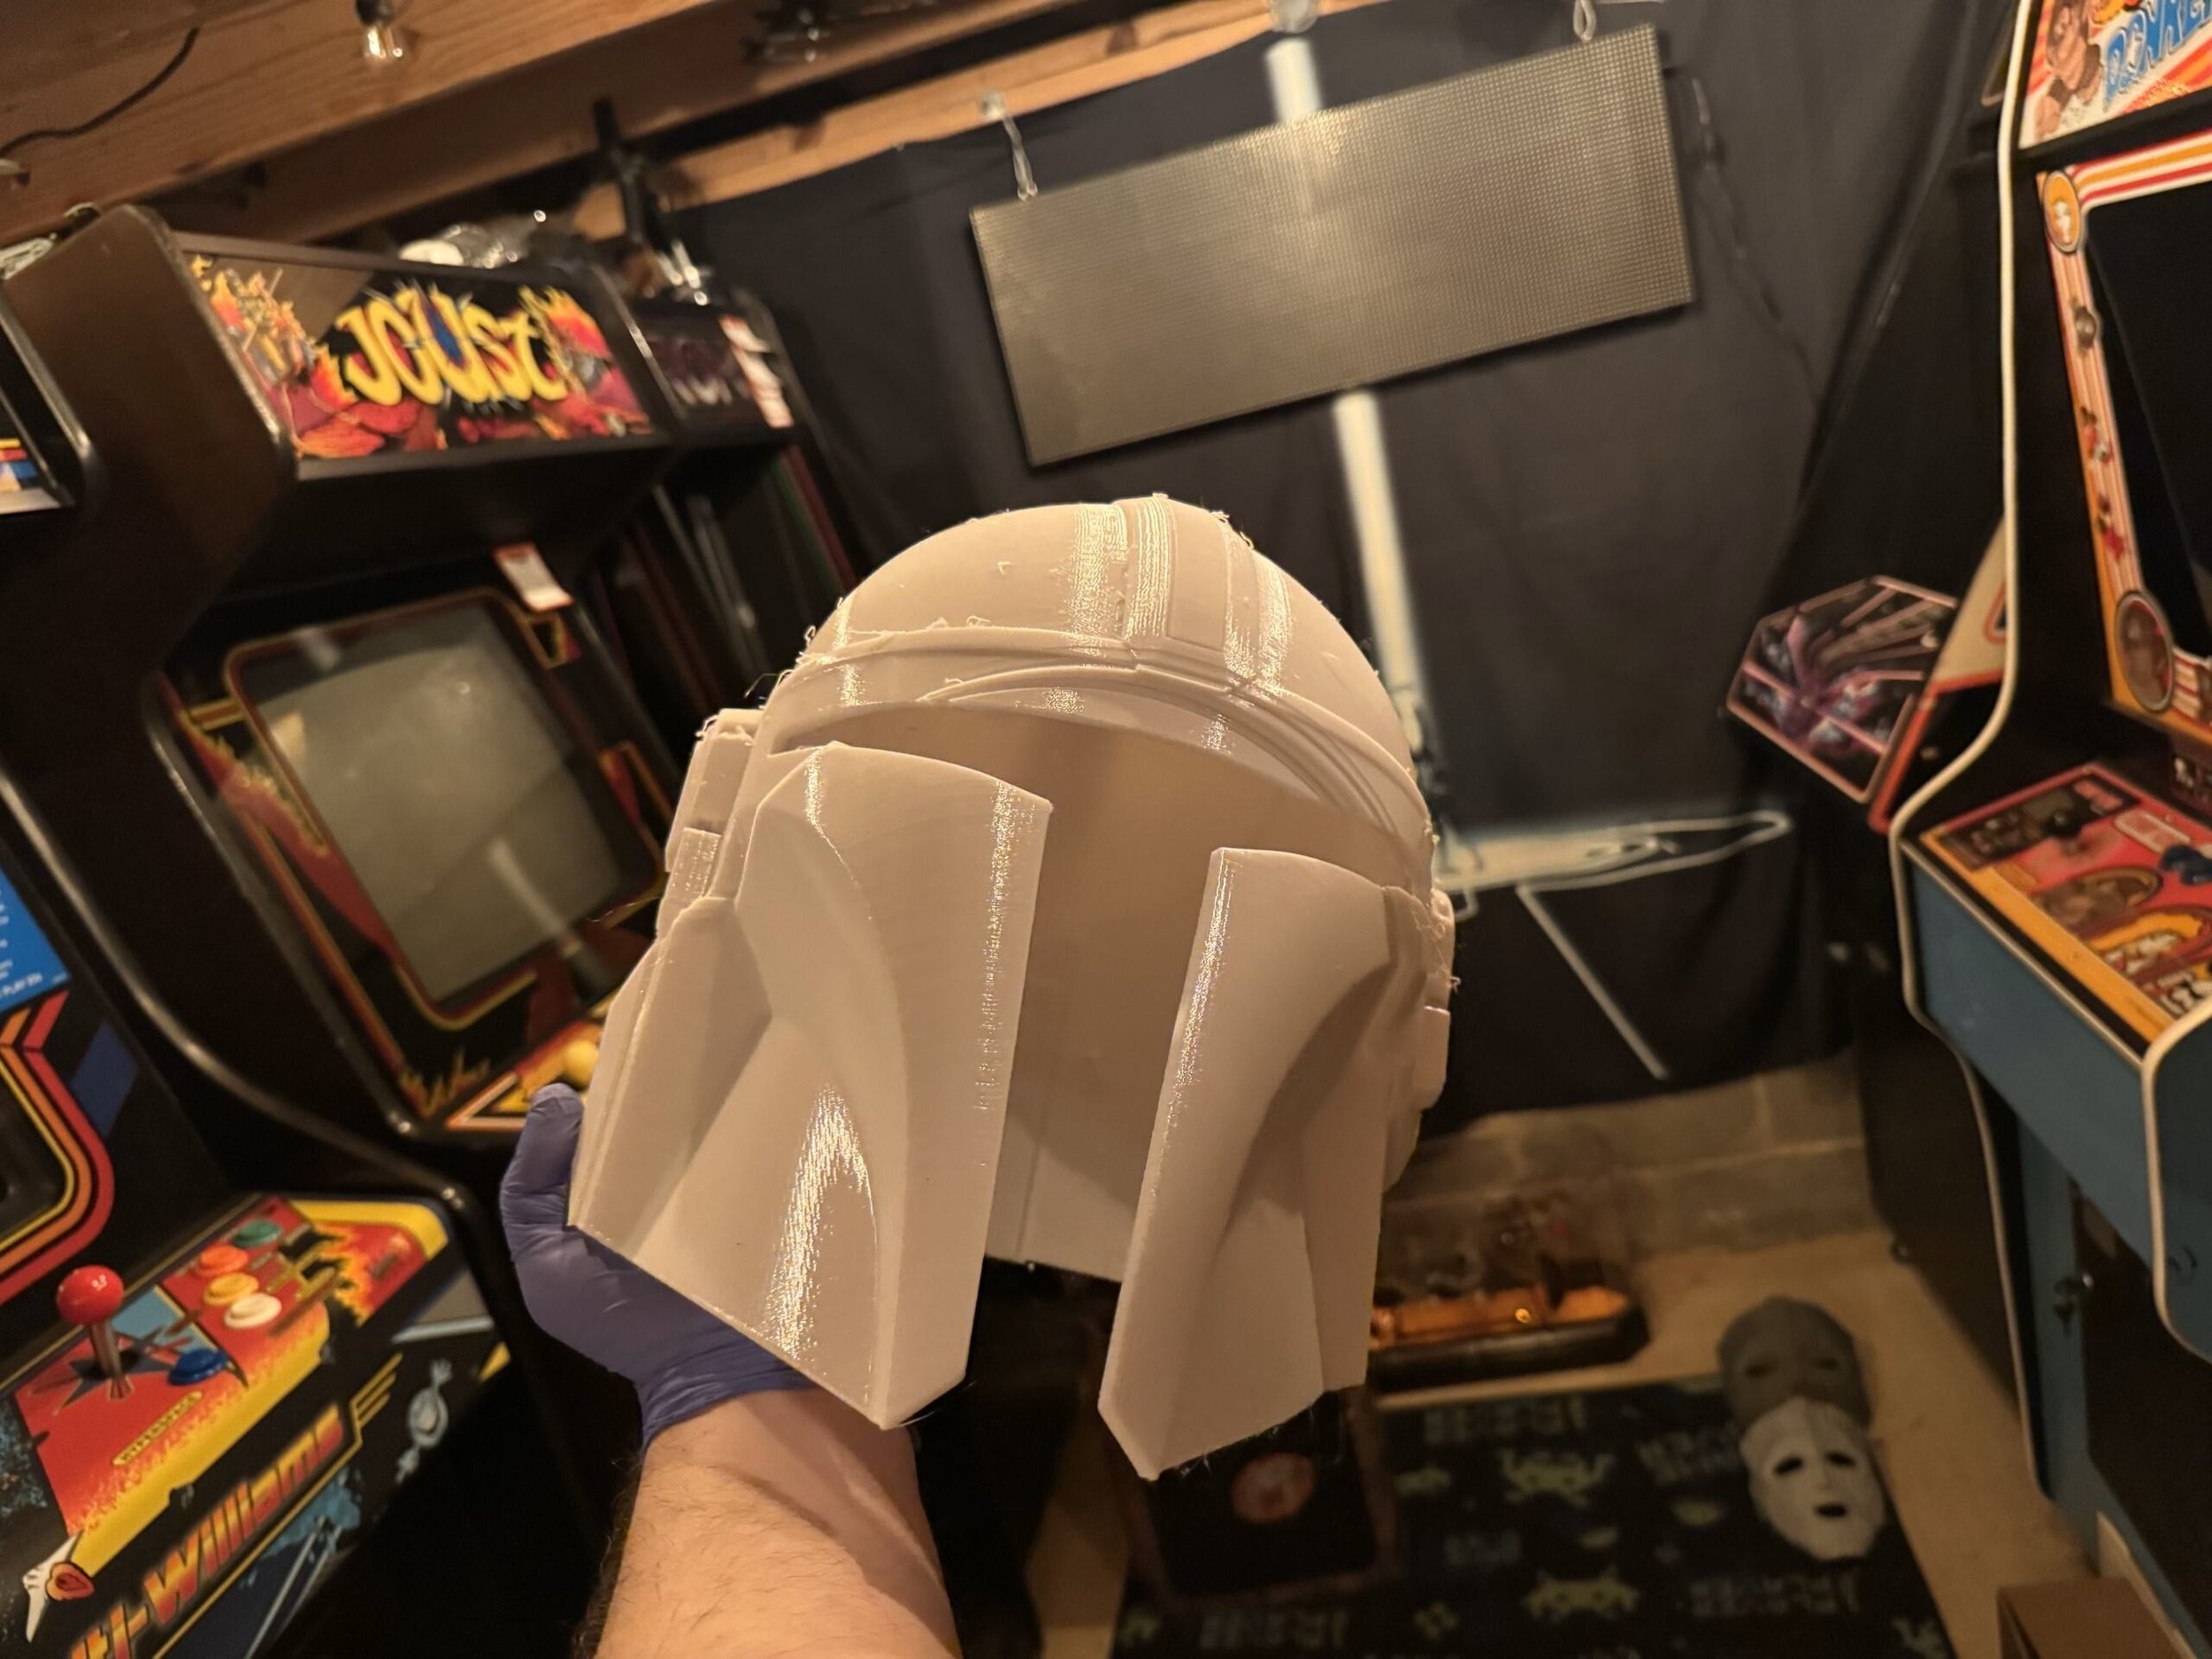
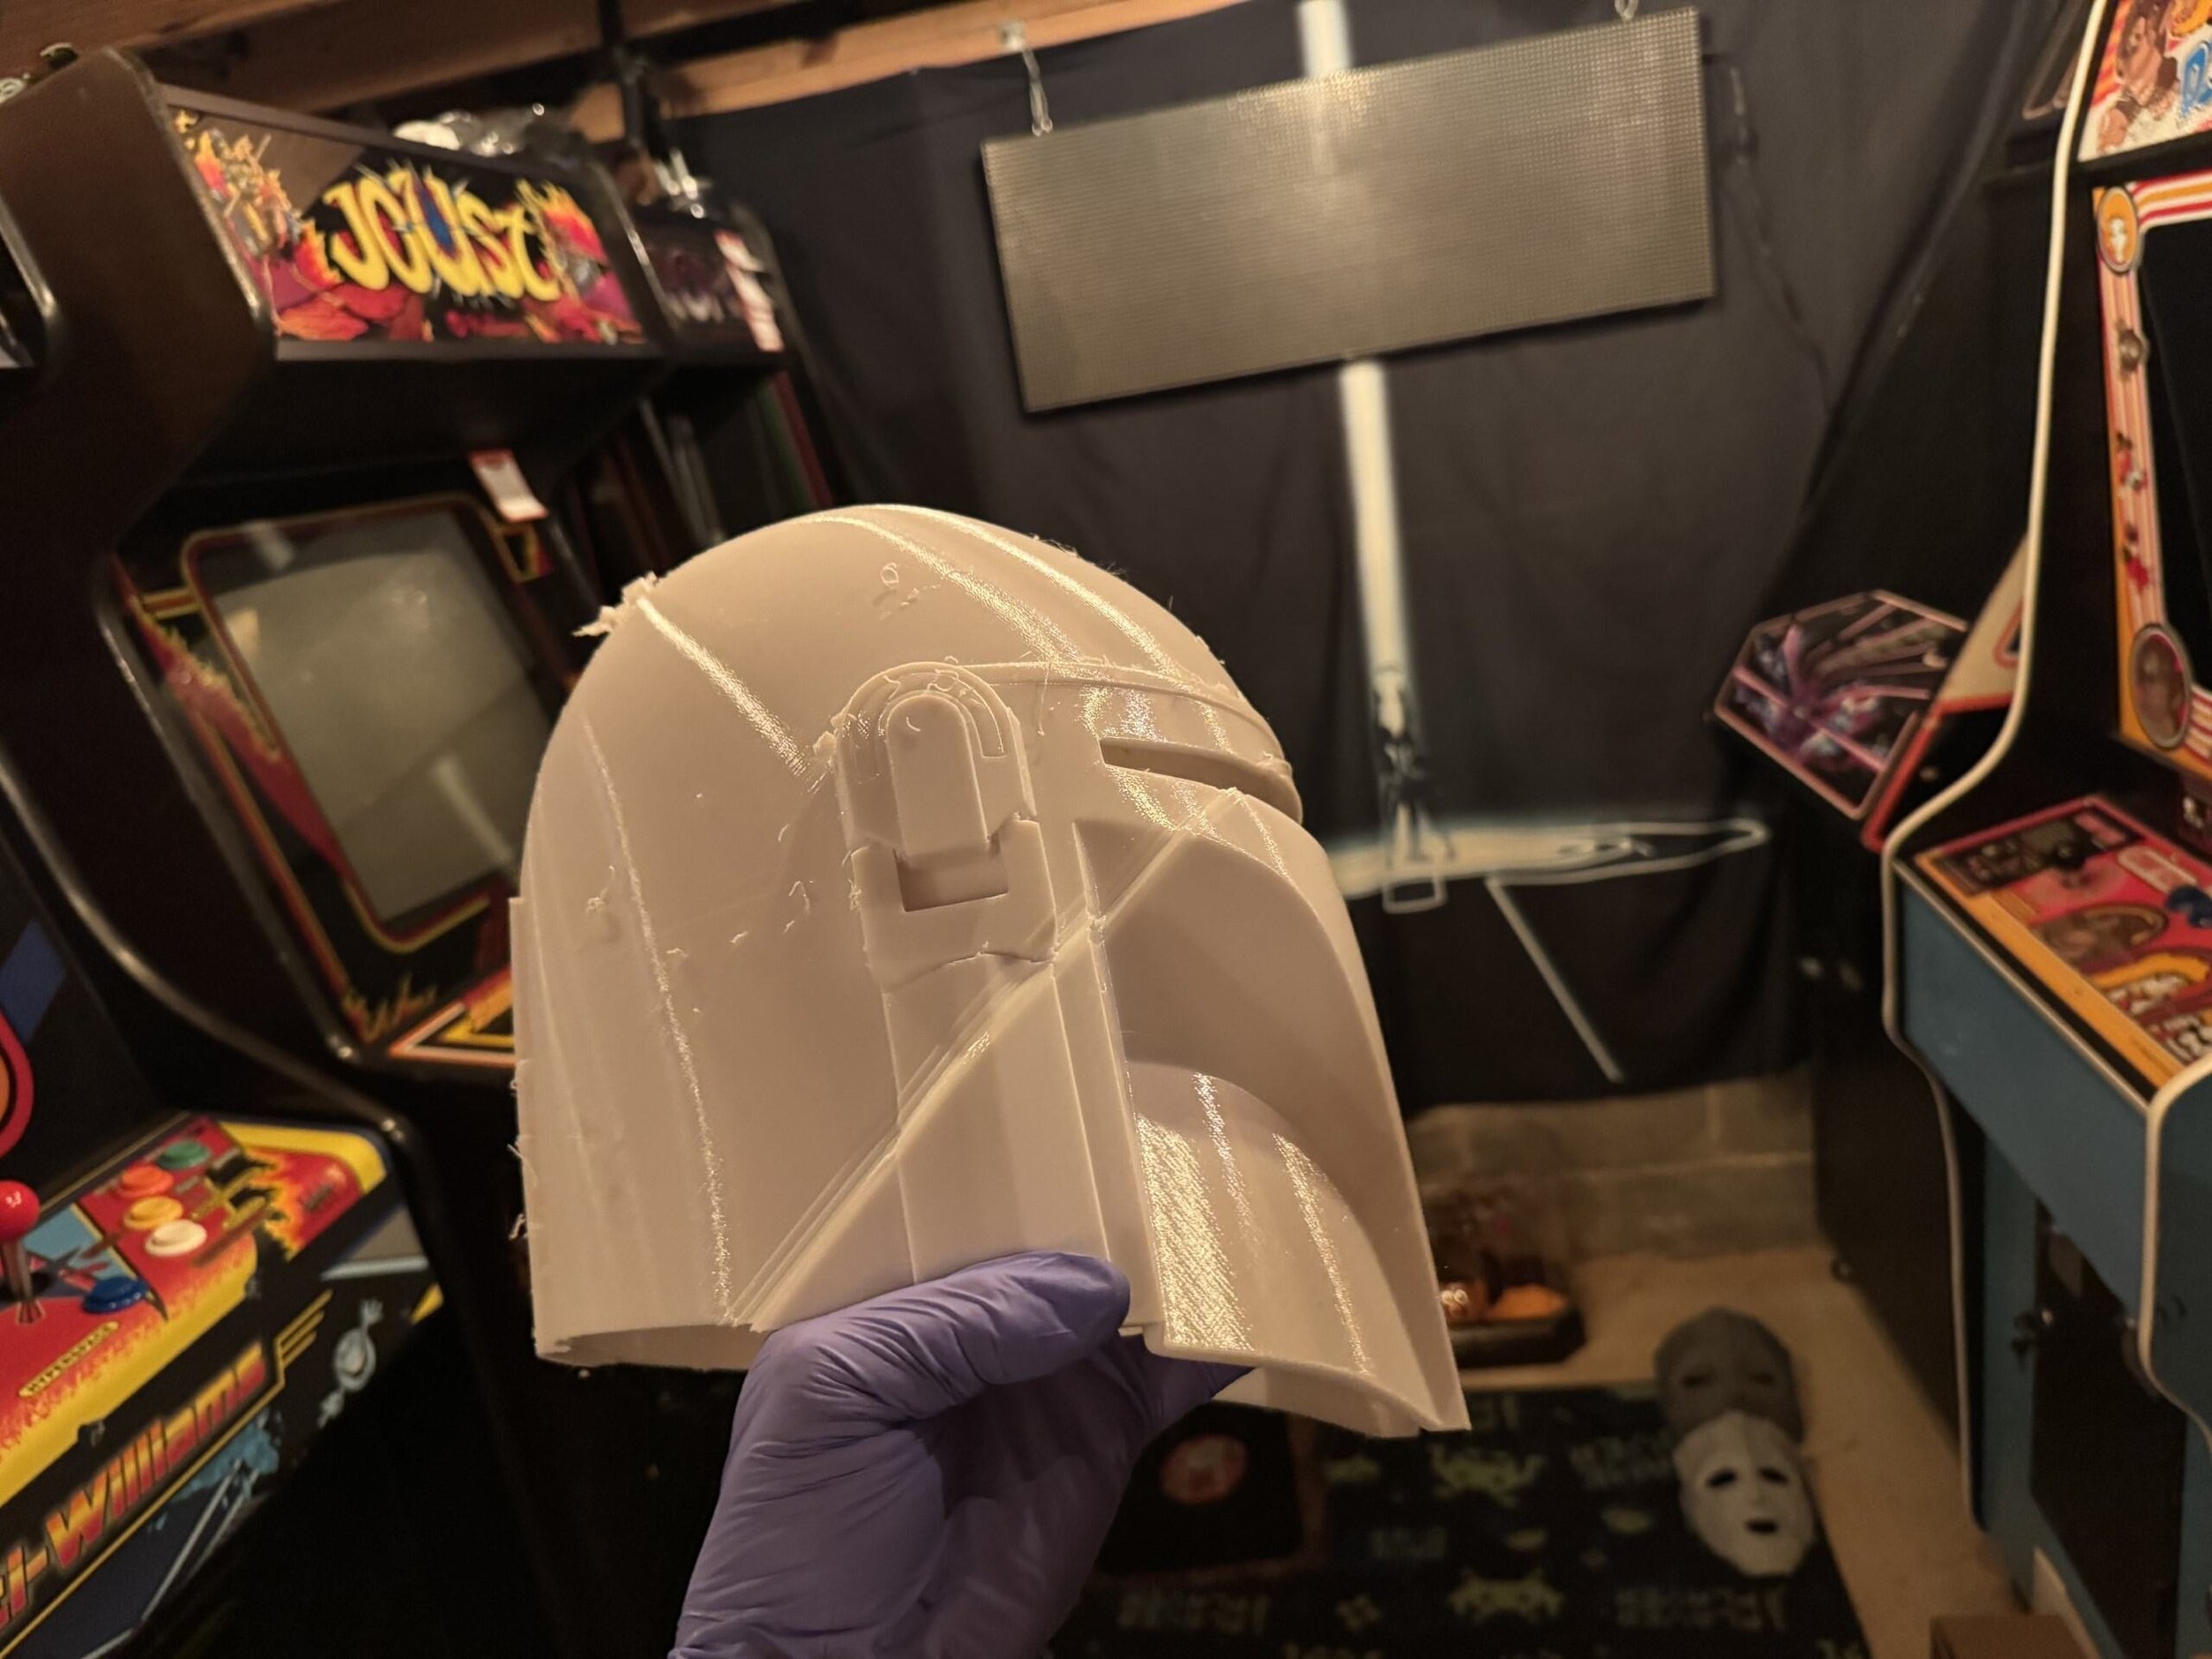
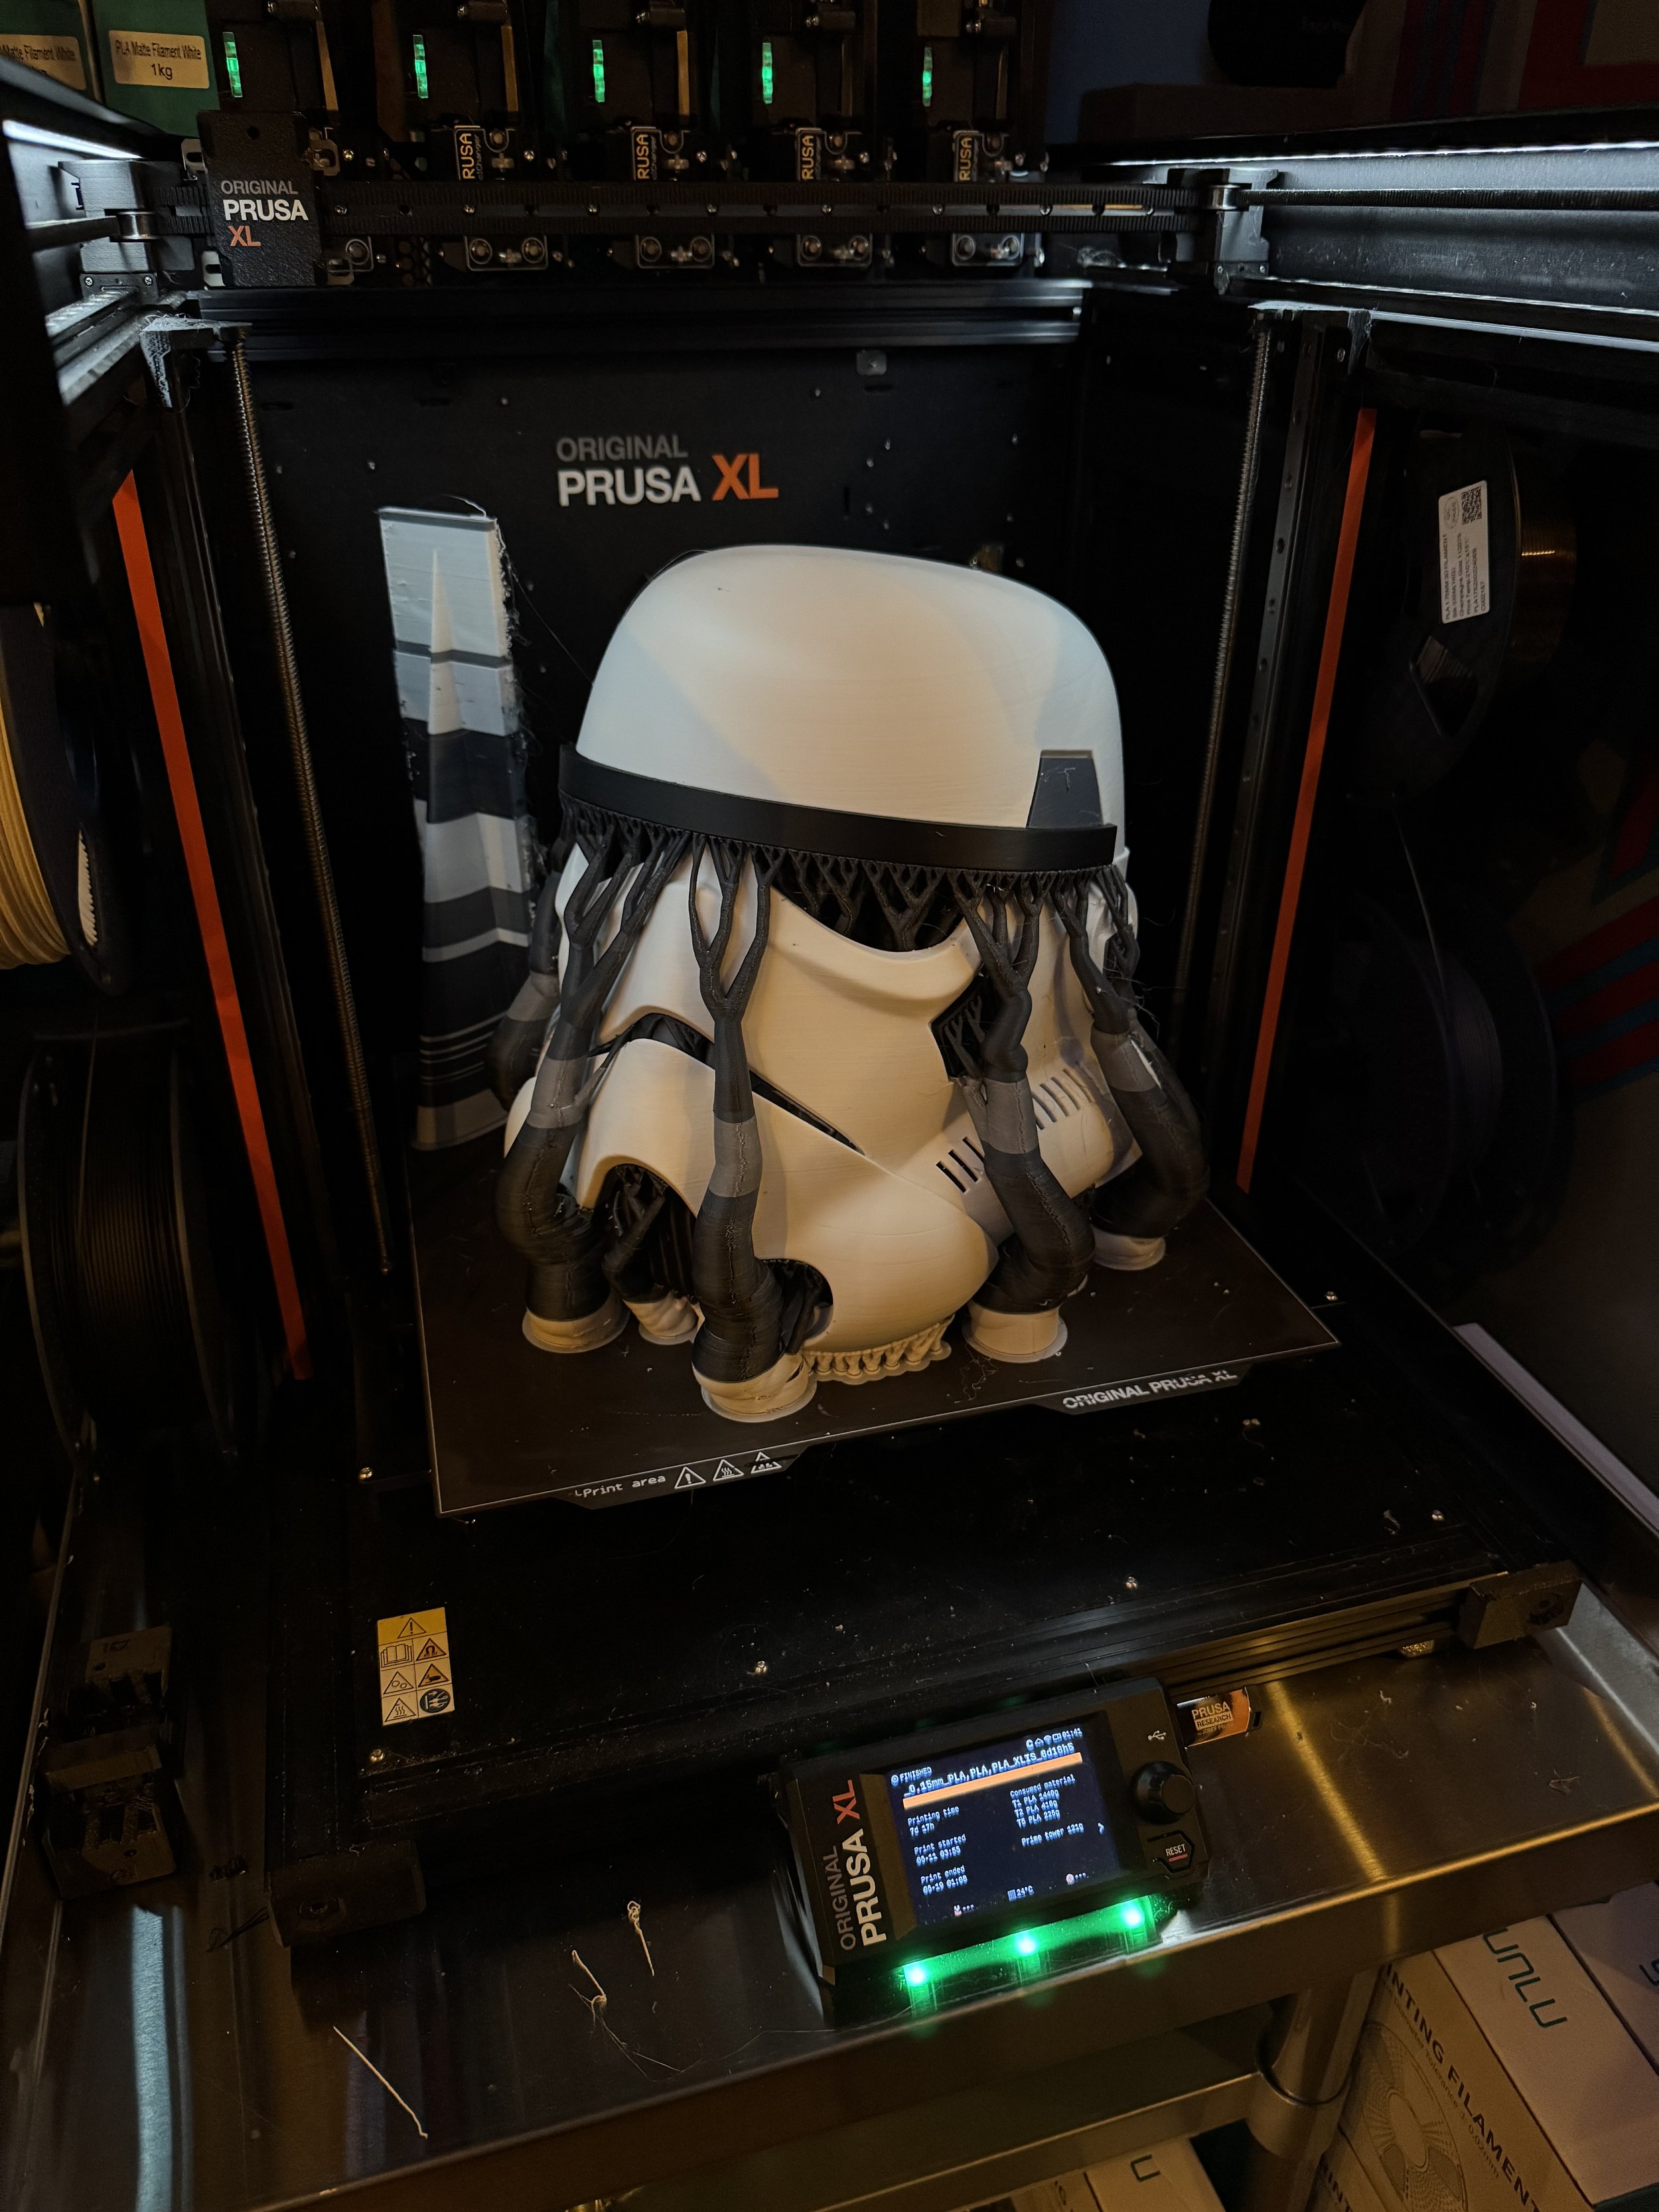
My resin printers are [currently] working night after night on parts for my 2/3 scale Ark of the Covenant build and the FDM printers are mostly busy making my son’s Storm Trooper armor.
I will make a very limited number of pearl-based Dial of Destiny props. As of the time of writing, (late June 2025) there are 3 in the wild. The pearl is fragile and a little expensive and frankly I didn’t want to get over my skis with a very experimental process.
The stack on the right in the photo above are all in-progress builds that need more sanding and detail work before I add the white parts. Most of them aren’t spoken for yet (again: I’m a terrible salesman) but I’m having fun taking my time and applying these new processes to create what I consider to be a very-top-shelf result.

Lima (top left) went to a friend stationed in Germany
Mike (top right) is still around. I considered swapping it into my own display because I like the extra distressing.
November (middle left) went to south Florida.
Oscar (middle right) went to a place near the Alps on the German side.
Papa (bottom) also moved across the pond, jealously now closer to the Guinness Brewery than I am.