Retro

Blow On It

Remember, blowing into your NES cartridge to fix it? Did it actually work / help?

There are smart people out there that tend to agree: No, it didn’t.

But then again, maybe Robot Chicken has the right of it. Video games are a constant source of joy for us, so maybe a little blow now and then is the least we can do to return the favor..

Whichever side of the blow / no-blow divide you may fall on, the NES Cartridge design is iconic. It is both incredible for its ability to hold up over the decades but also frustrating for the tendency over time of the ZIF socket to require “just re-insert it” - type actions to get a good connection.

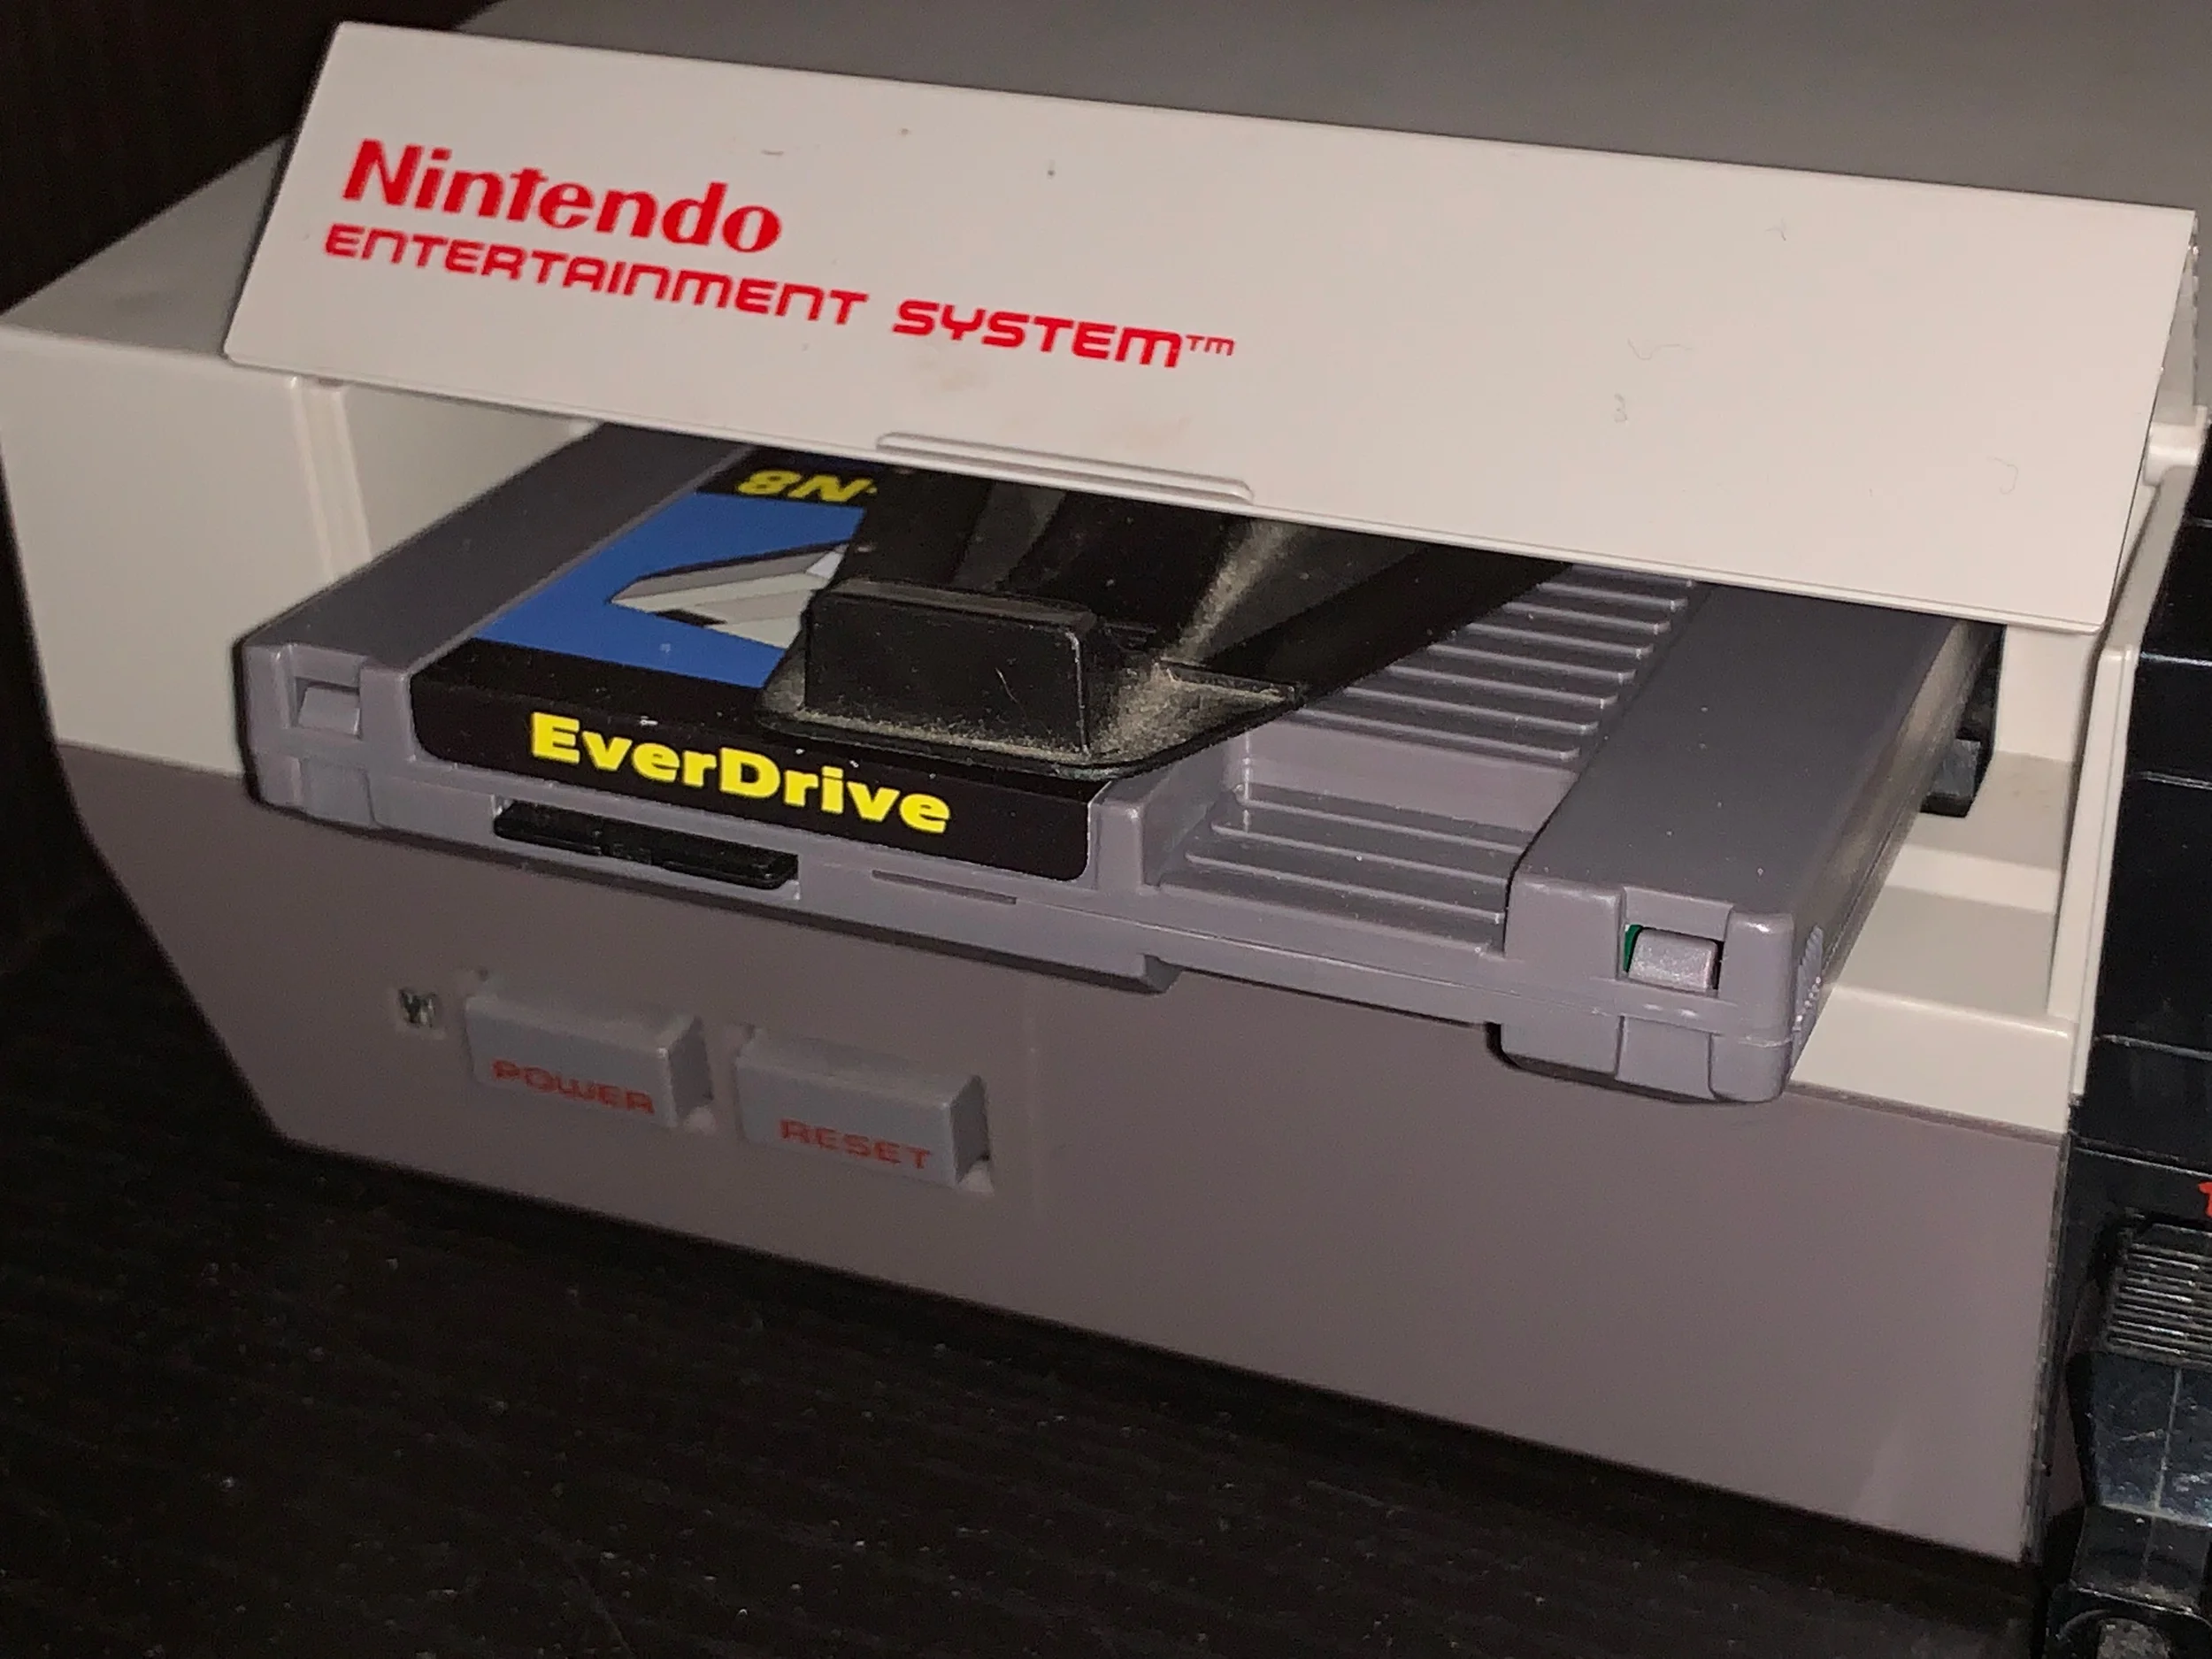
A year ago, I bought an EverDrive N8 and picked up a 20” Toshiba CRT TV from a Facebook marketplace listing. I had classic NES gaming on the mind and I’ve been meaning to get back to it. Last year, I also installed a “New” 72 Pin Connector in my NES to alleviate some cartridge loading issues.

IMG_3350.jpeg

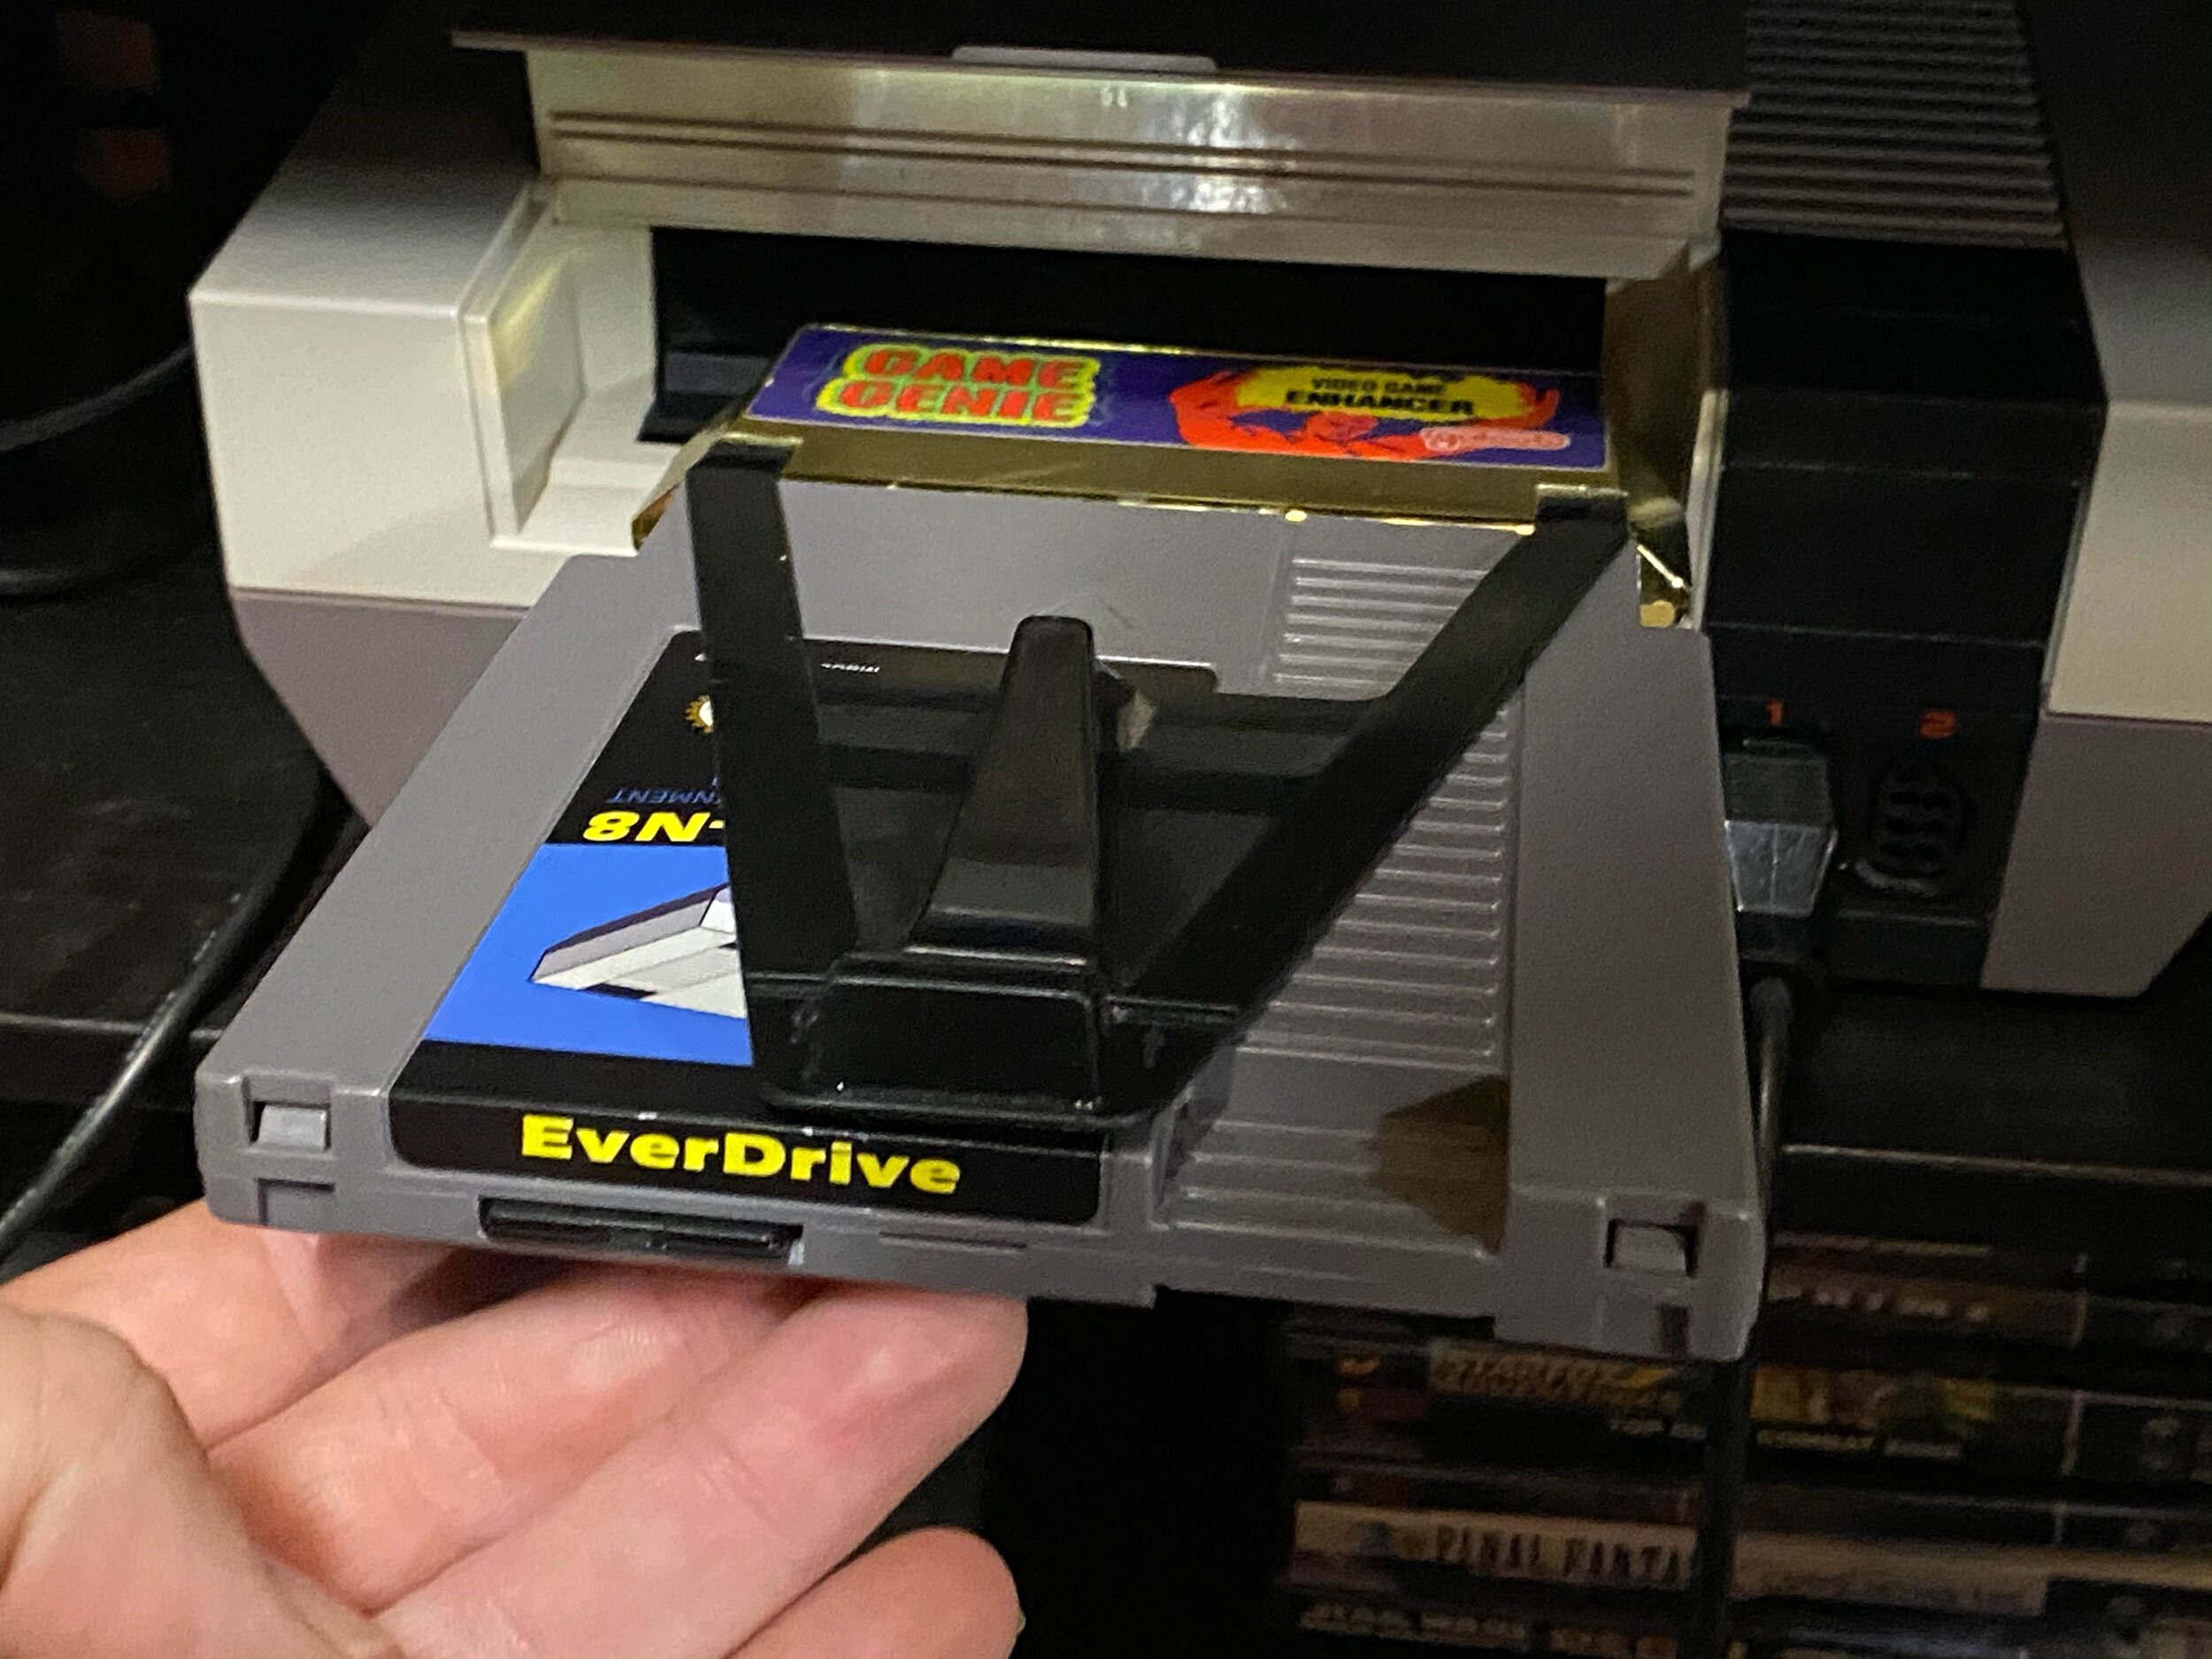
Only a month into owning the EverDrive I found myself in a familiar spot. The NES EverDrive would sometimes boot to a solid color screen or certain games would have jumbled intro screens. I did all the things we did when we were kids, blowing on the cartridge, slamming it into the toaster mechanism with varied levels of force and eventually using a Game Genie with it in order to create enough force for the cartridge contacts.

The thing is, the Krikzz forums are pretty clear that you aren’t really supposed to use this thing with a Game Genie, it can create unexpected mapping errors or inconsistent boot situations. The entire point of the EverDrive is that they have better (OEM) voltage consistencies compared to other multi-carts. What impact a Game Genie or other Wedge-card might have, isn’t probably heavily tested.

So, the NES has sat collecting dust once more as It ended up in my “I’ll get to it later” queue.

IMG_3279.jpg

Then, I flipped on Netflix’s new High Score Mini Series about retro gaming intending for it to be a background watch while I worked on the laptop late one evening. Many reviews have been “nothing new here” but Episode 2, which partly covered the 1990 NES World Championships triggered my desire to get my NES whipped back in shape.

I suppose memories of The Wizard (1989) and my own childhood dreams to play in the Nintendo World Championships. Alas, the nearest cities to me at the time would have been Indianapolis or Cincinnati and the two hour drive and overnight stay would have been more than my parents would have been willing to fork out toward’s their nerdy son’s video game obsession. Probably for the best, based on the scores they put up, I wouldn’t have stood a chance at the national level!

But…I would like to try to arrange for a NES Mock-Championship game night post-COVID…


Motivation Found. Time to fix it!

Paths.jpg

This time, I found a good discussion about the pros and cons of NES 72-Pin connector repair approaches and from this thread I ended up with two paths forward.

Path one: Go back with a refurbished or NOS original connector. The remade connectors aren’t as good as the original.
Path two: Go with something like BLW, which is a redesign of that entire mechanism and connector.

”GO LEFT” <RETURN>


OEM is Probably Better

Where the 72pin edge connectors are concerned, it turns out the original Nintendo parts are pretty well made, so I decided to go this route, for now. Not picking on the BLW redesign here, I will probably go the BLW route the next time it acts up in order to see how it holds up by comparison. But, it seems that the modern remakes of the original 72 pin edge connector are less-than the OEM in terms of resiliency.

IMG_3342.jpeg

I couldn’t find my original connector though I’m sure I have it somewhere in a box. So, I bought a refurbished OEM connector from a FleaBayer.

It arrived quickly, though I was a little put off that it actually had rust on one of the pins.   Refurbished, indeed.  YMMV.

It arrived quickly, though I was a little put off that it actually had rust on one of the pins. Refurbished, indeed. YMMV.

Armed with my trusty can of DeOxit, an eraser and Phillips screwdriver, I set to task and replaced the connector again… or again again? again again agin? I’ve honestly lost track of how many times I’ve done this. :)

IMG_3340.jpeg
IMG_3338.jpg

About 20 minutes of work that could have been achieved faster if I didn’t have OCD screw-handling tendencies and my NES was back in business.

And.. after all this I got to check out the Nintendo World Championship 1990 game, thanks to an EverDrive Update.

Nice to have the option to play it without buying a $$,$$$ collectible cartridge or a $$$ reproduction. There is an an easy hex-edit of the original rom to allow P1 Start to begin the game and Voilà:

Adjustments.jpeg

How’d I Do?

Turns out, I wouldn’t have been World Championship finals material anyway!

Turns out, I wouldn’t have been World Championship finals material anyway!

In SMB, I collected the coins leading up to and including the underground pipe, went back up the pipe, then suicided Mario.

You start back at the halfway point near the 9-block. I jump up while the Goombas roll by and hit the upper coin block, then the 9 block quickly before the Koopa can get there, go right, collect a couple coins and then suicide Mario again.

Next life, back to the 9Block and maybe +1 coin for 50. I think I could probably shave 20 seconds off that portion of the time. I cleared Rad Racer, got two Tetrises before running out of time.


Using the strategy of shorting SMB in favor of more time in Tetris, my highest score is 292,745.

Lap 1 = SMB, Lap 2 = Rad Racer, Lap 3 = Tetris

Lap 1 = SMB, Lap 2 = Rad Racer, Lap 3 = Tetris

RetroStone 2

yeah, my living room table is a little bit of a catch-all. keepin’ it real, ya’ll.

yeah, my living room table is a little bit of a catch-all. keepin’ it real, ya’ll.

On a cold night one of my favorite things to do is to sit by the fire with a handheld game system. This simple wish was my hope for the RetroStone 2. I’ll briefly walk you through how that’s worked out, so far.

What’s a RetroStone?

IMG_1132.jpeg

There have been a myriad of portable retro gaming offerings over the last few years in a variety of form-factors. Everything from jailbroken PSP’s or PSP-clones to custom-built raspberry pi handhelds and everything in between.

Looking ahead for the holiday gifts, I ran across the Retrostone through a few articles & reviews. In the process I found that they were planning a hardware refresh, the Retrostone 2.

Pi-based retro gaming systems have been popular projects over the last few years. Even Amazon has Raspberry Pi-based kits that can be built into NES, SNES and other clone cases. For a small fee, including SD cards pre-loaded with games and ready to go. Over the holidays I bought my son this handheld retro multi-game from Amazon.

The Retrostone is essentially this, built into a Gameboy-esque case. The average Gameboy multi console on Amazon costs between $45-$100, the one I mentioned above was $60. This Retrostone 2 costs around $225 by comparison. I ordered the Pro version in order to get the 8gb NAND and gambling those load outs would ship first.

Hardware

1c710b8b94402ac79d55c60b2a0dab74_original.png
e11a919a2db04037a2abe86dabc3ef9e_original.png
 

The Retrostone 2 runs an ARM Cortex-A7 A20 processor running at 1.0GHz.

8f8f7fd2c2bfb4a903f1822a265a2fa7_original (1).png
2d46d2585a7bb81298af6daf013e99c4_original.png

Why they opted for the custom board vs the $35 Raspberry Pi 4, I’m not sure. Assuming it has something to do with power draw.

At first impression, I’m seeing performance issues galore but this 1Ghz dual-core should be more than enough for most classic games.

For now I'm going to just have to trust the smart-guys’ judgement on this.

Complication Station

IMG_1146.jpeg

This is the part that’s annoying. Because of the legal and licensing minefield associated with such things, the RetroStone comes without any software installed. You have to handle that part and as far as I can tell there isn’t an abundance of folks willing to stick their necks out with pre-configured microSD cards. Like most MAME and console emulator builds these things are a kludge of loosely related bits of mostly volunteer maintained open source software. I’ll try to remove some of the “who does what”, below.

Retrostone runs RetroOrangePi, which is a bundle of various open-source tools optimized for the Allwinner CPU.
RetroOrangePi includes a variation of Armbian, a Debian ubuntu linux distribution for ARM CPUs.

It also includes RetroPie, which itself includes RetroArch and Emulation Station. These lines are less clear but you can think of it is a multi layer bean dip with Armbian on the bottom with RetrOrangePi modifications, talking to RetroArch in the middle which is standardizing I/O between multiple emulator hosts and Emulation Station on the top providing a slick launcher front end to launch your games.


Initial Impressions

IMG_1103.jpeg

The Pro versions did ship a few days earlier than the rest, so that gamble paid off a little.

Packaging was good. Lots of padded envelope goodness.

IMG_1106.jpeg

Holding it and pressing the buttons, it had good tactile feel. The case is a bit on the chunky side but I don’t see that as a knock, it feels well built and has good weight. The screen-size, which is report-ably the big upgrade over v1, seems really nice.

From there, my initial impressions are frustrated a bit by the software side of things. On the day my RetroStone arrived, I found dead links at the Retrostone 2 tutorials pages, dead links for some of the RetroOrangePi variants OS and little or no documentation.

In this way the Retrostone 2 reminds me alot of the ArpiCade. Relying on the goodwill of people on an enthusiast forum to get your $200 toy to work. In fairness the Retrostone site and related kickstarter pages are very clear that it doesn’t include software.

I would imagine that is because: lawyers and because: support. I get that, really. But it doesn’t change the frustration level for me as a person that “does computer troubleshooting and programming things” for a living when my hobby has me doing similar computer troubleshooting and programming things to a degree that isn’t expected.

Reading on forums of others who aren’t necessarily as technical and unable to figure it out, I saw an apologist throw out this line:

Why would you expect anything different? Cars don’t come with gas from the manufacturer and guns don’t come with bullets loaded".”

Which, to me, is an asinine comparison considering every car sold by a dealer has a full tank of gasoline and a sticker telling you exactly what kind of gasoline to use. The bullet analogy is misguided too. More accurate would be if you bought a gun and have to make your own shells from existing reload supplies. But,I digress…

First Impression: Oh crap, is It Completely Broken?

emulation_station_welcome-100718423-orig.jpg

My third downloaded image from the RetroOragePI site was labeled “Retrostone 2 Beta” and was under a “Full” heading, implying the build that would include the full linux support. Initial bootup showed a “No Gamepads Detected” welcome screen.

Welcome, indeed.

Clicked all buttons and d-pad, did nothing. I sat it down to grab a whiskey and when I came back, the D-Pad inputs actually worked.
This happens on every boot. A 30-45 second “lock up” and error message complaining about the gamepad.

Looking at the RetroOrangePi forums it seems like this might have been a bug as a result of the late addition of wifi as part of the kickstarter stretch goal. Initially, when I got the error above, I went on to try other (and earlier) Retrostone builds. My thoughts were:

Hey, the kickstarter as all of these screenshots of this thing working, maybe I can get some joy from an older build and just adopt the recent build when its ready for primetime. “

Evidently the existing tutorials and docs for Retrostone 1 don’t apply to Retrostone 2 and I suspect they may not even apply to Retrostone 1 anymore because the software stack has changed considerably.

The most noticeable example of this is in the instructions on how to add games.

step1.jpg

Problem is in this version of the software the Start-button popout menu does not include the launch desktop feature.
After some digging, I found the Desktop feature. It is under RetroPie-(System) then RetroOrangePI.

IMG_1148.jpeg
IMG_1149.jpeg

After plugging in a USB keyboard and mouse combo, you have a full X server linux desktop to interact with. From here, you can file copy roms from a thumbdrive to the running machine image so that they will show up in the menus.

UPDATE: After getting to this point, I found this sticky forum post dated 1-7-2020 that covers the location of the Desktop and steps to get wifi connected.

its go time…..?

After successfully solving the escape room UI puzzle to get the linux desktop going and get some ROMS loaded, my brain dropped a little dopamine to give me a spike of excitement that maybe we were ready to rock with this thing!

The result?

d3e.jpg

Unfortunately that first build wasn’t ready for primetime, at all. At that point in my adventure, every game on the system that I tried across multiple systems (NES, SNES, Megadrive) including those sample games included with the image are too laggy to actually be playable rendering the Retrostone 2 as a paperweight or nerd wall-hanger.

Another trip to the forums and I found a new build was ready, this weekend…

IMG_1159.jpeg

The latest version of the software does have the linux desktop shortcut on the start menu, though when I tried from that menu it locked up. The retroOrangePi shortcut continued to work, though. The dev had a few suggestions following the build that weekend, one was to disable gpio and the other was to change the default SNES emulator to snes9x2002. I believe both of those suggestions are formalized in the latest build.

Lag Fixed? Success!

56e3189152bcd0320c8b5cf7.jpeg

The latest build was much better. NES, SNES & Megadrive games all seemed to be playable. Sometimes there is a lag but nothing quite as disruptive as before. The latest build starts to normalize the emulation station config, as well. Putting the Desktop feature on the start menu (though that part actually hung when I tried) and tweaking towards a generally cleaner theme.

Summary

My suspicion is that this is one of those projects where the “the hardware team” and “the software team” behind the scenes aren’t fully gel’d up. I suspect, though that those are teams of 1 (person) doing it part-time, for fun on the side. (But that’s just a guess.)

Over on the software side, I’m monitoring the forum and trying to send good vibes to the volunteer work going on to solve some of these problems. I’m trying to be useful but not in the way. I’m not really mad at them, seems like they got the final hardware on the same day I did. Alexkidd released a few builds this weekend, alone & I expect there will be future updates while it has his attention.

I’m not really mad at the hardware side either.

Over on the kickstarter comments of the hardware side, people are giving Pierre hell about shipping delays and every other imaginable thing. Sometimes kickstarter is like Twitter but worse because everyone paid to be there. I’ve found Pierre to be very responsive over on the 8BCraft site. That said, I didn’t really pick the Retrostone looking for a kit. Had I wanted a kit experience I would have thrown the best possible hardware at it and minimized the software stack to my purposes. It definitely isn’t a polished system right now but I think it has alot of power & potential to be an ultimate handheld solution.

I did get finally get to spend some down time on a cold night with a dog snuggled in on one side, the cat snuggled in on the other, a black coffee on the table and some retro gaming goodness in my hand..

I did get finally get to spend some down time on a cold night with a dog snuggled in on one side, the cat snuggled in on the other, a black coffee on the table and some retro gaming goodness in my hand..

Concluding Thoughts

I’m good w/ my purchase but at this time I don’t think I can actually recommend the Retrostone 2 given the current state of affairs. This is based solely on value & performance. Retroarch gets chunkier with each release as new, advanced features get piled on. (Things like streaming, recording, network stack support, bluetooth controllers and more.) This creates a platform baseline overhead in CPU and RAM consumption. The Retrostone 2 screen is really quite good but I suspect the choice to step backwards in CPU capability is going to haunt this device’s upgrade potential over time.

of course.. I could be wrong. I’d like to be proven wrong.


I plan to revisit the project in a month to see how it has developed and I’ll update my opinions if I see a performance optimization miracle. In the meantime, I urge patience for those customers of the Retrostone 2 and I also suggest Retrostone 2 customers consider making a donation to the RetroOrangePi developer for their efforts on this project. If you do, reference Retrostone in your donation and it’ll inevitably get the technical love it needs to go from good to great.

Mo’ Retro!

I’ve been a little quiet here for a few weeks with a busy schedule of life-related things. However.. you might have noticed a new menu item on the site. I shut down the “merch” link for now, since it cost me nearly $50/mo to run and added something a little different.. I’ve been exploring some “other retro” things that are nerd-adjacent, although not entirely related to arcades and pinballs.

BBS

bbsAnnouncement.jpg

First of them, is the BBS. I spent some time trying to revive my old OBLiViON/2 BBS, “The Graveyard” (of course it was the graveyard, because.. I was 14) but I haven’t had a ton of luck finding it on my archives and backups.

So, I’ve been going down a route of building up a “new” BBS using a modern Node.Js BBS Platform called Enigma. Time will tell if this was a good decision or not but I’m pretty familiar with Node and this gives me the ability to host the BBS on a super-inexpensive instance on AWS. Note: I tried to use an Azure Windows instance for this but Azure doesn’t support 32 bit or earlier OS’s without a bunch of flaming hoops.


Over Labor Day weekend I was able to get some inter-BBS door games running via BBS Link

BBSNetDoors.jpg

My current challenge is trying to get a few local-doors set up so we can have control over game-resets and don’t have to join a game so far along in progress. I’m making progress on that front…. Hopefully this week I can get my licensed BRE running on the instance…

Getting DOS running on Linux is like herding cats.

Getting DOS running on Linux is like herding cats.

public.jpeg
BBSDos.jpg

More details on this to come…

Multi-Cartridges w/ Everdrive

In other news… I’ve been playing with some multi-carts from Krikzz, as well. More details to follow… but my initial impression is: “I’m having a great time with it.”

public.jpeg
public.jpeg

This has been part of a larger “project” where I’ve hooked up the NES, N64, Gamecube, Genesis & DreamCast to a 19” Television for a retro-gaming trip down memory lane. Sadly, my Atari 2600 needs some repair but I’ll get there..